How can you optimize your graphic design process?
 by
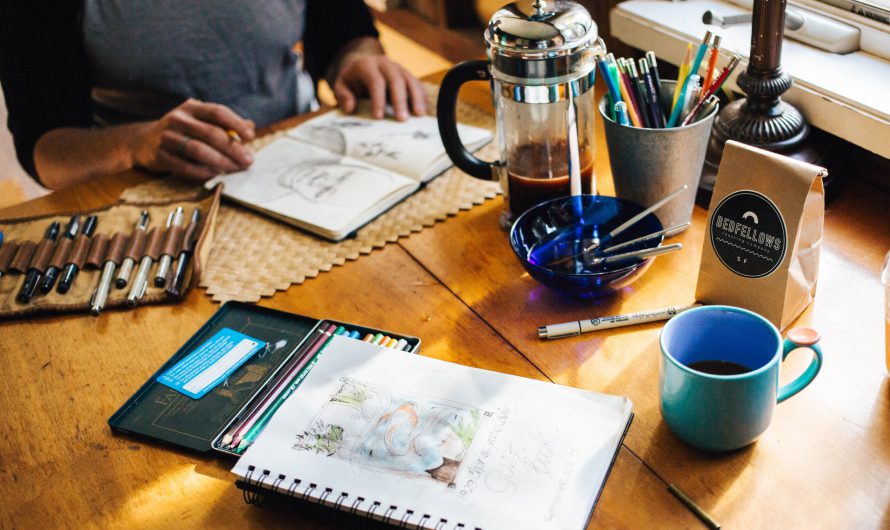
by Graphic design is as complex as an art form but as simple as a thought. Anybody can be a designer but not everybody can be an artist. Luckily, with the help of technology, we are now able to do many things we couldn’t do in the past. This doesn’t only …

 by
by